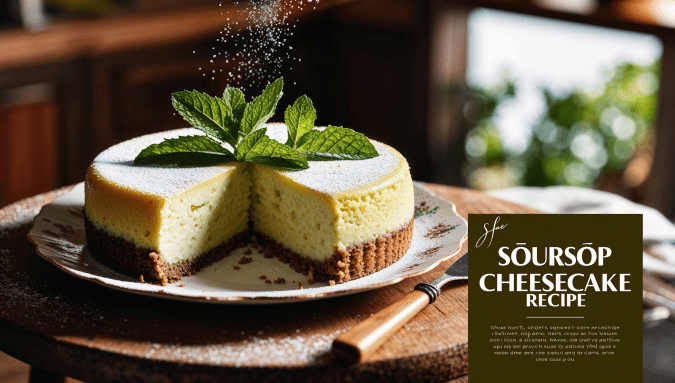
Here’s a delightful Vegan Soursop Cheesecake recipe that highlights the tropical flavor of soursop while maintaining a creamy texture without dairy. This no-bake cheesecake is perfect for any occasion!
Vegan Soursop Cheesecake Recipe
Ingredients
For the Crust
- 1 cup pitted dates (about 10-12 dates)
- 1 cup raw almonds (or walnuts)
- 1/4 cup shredded coconut (optional, for added texture)
- 1/4 tsp salt
For the Filling
- 1.5 cups raw cashews, soaked in water for at least 4 hours or quick-soaked in hot water for 30 minutes
- 3/4 cup maple syrup (or agave syrup)
- 1/2 cup full-fat coconut cream
- 1 cup ripe soursop pulp (fresh or frozen, thawed)
- 1 tsp vanilla extract
- Juice of 1 lemon (to enhance flavor)
- 1/2 tsp salt
Instructions
Step 1: Prepare the Crust
Soak the Dates:
- If your dates are not soft, soak them in warm water for about 10 minutes to soften. Drain and set aside.
Process the Crust Ingredients:
- In a food processor, combine the pitted dates, raw almonds, shredded coconut (if using), and salt.
- Pulse until the mixture resembles coarse crumbs and sticks together when pressed between your fingers.
Form the Crust:
- Line the bottom of an 8-inch springform pan with parchment paper for easy removal.
- Transfer the crust mixture into the pan and press it down firmly with your fingers or the back of a measuring cup to create an even layer. Ensure it is compact and smooth.
Chill the Crust:
- Place the crust in the freezer while you prepare the filling. This helps it firm up.
Step 2: Make the Filling
Soak Cashews:
- Drain and rinse the soaked cashews. This will help achieve a creamy texture.
Prepare Soursop Pulp:
- If using fresh soursop, peel it and remove any seeds. Blend it in a high-speed blender until smooth to create a pulp.
Blend the Filling Ingredients:
- In a high-speed blender, combine the soaked cashews, maple syrup, coconut cream, soursop pulp, vanilla extract, lemon juice, and salt.
- Blend on high speed until completely smooth and creamy, scraping down the sides as necessary.
Taste and Adjust:
- Taste the filling and adjust sweetness or acidity if desired by adding more maple syrup or lemon juice.
Step 3: Assemble and Set
Pour Filling Over Crust:
- Remove the crust from the freezer. Pour the creamy filling over it in an even layer.
- Use a rubber spatula to smooth out the top if needed.
Freeze to Set:
- Cover with plastic wrap or a lid and place it in the freezer for at least 4 hours or until firm.
Step 4: Serve
Remove from Pan:
- Once set, carefully remove the cheesecake from the springform pan by releasing the sides.
- If necessary, run a knife along the edge before releasing to prevent sticking.
Slice and Garnish:
- Slice into wedges using a sharp knife (dipping it in warm water can help make cleaner cuts).
- Optionally garnish with fresh soursop slices or other tropical fruits before serving.
Enjoy!:
- Serve chilled and enjoy your refreshing Vegan Soursop Cheesecake!
Storage Tips
- Store any leftovers in an airtight container in the freezer for up to one month. Thaw in the refrigerator before serving.
This vegan cheesecake not only showcases soursop’s unique tropical flavor but also provides a creamy texture without any dairy! Enjoy this delightful dessert at your next gathering or as a special treat for yourself!


